
Before, during and after
Real gardens, photographed honestly across their whole life: as found, under construction, at handover, and well into their maturity. A garden is only finished when it has grown into itself.
Build | A working kitchen garden
A steeply sloping, overgrown back garden turned into a productive kitchen garden. The ground dropped away sharply from top to bottom, so nothing could be grown until the slope was held. We cut into the bank, set steel posts deep into the ground and built oak sleeper retaining walls to carve level terraces out of the hillside, then brought in fresh topsoil and set out raised beds sized so every corner can be reached from the path.


Holding back the slope
The hardest part of this garden was never the planting — it was the fall of the land. These show the slope being cut, anchored and retained before a single bed could be filled.


Screening | A pleached hornbeam screen
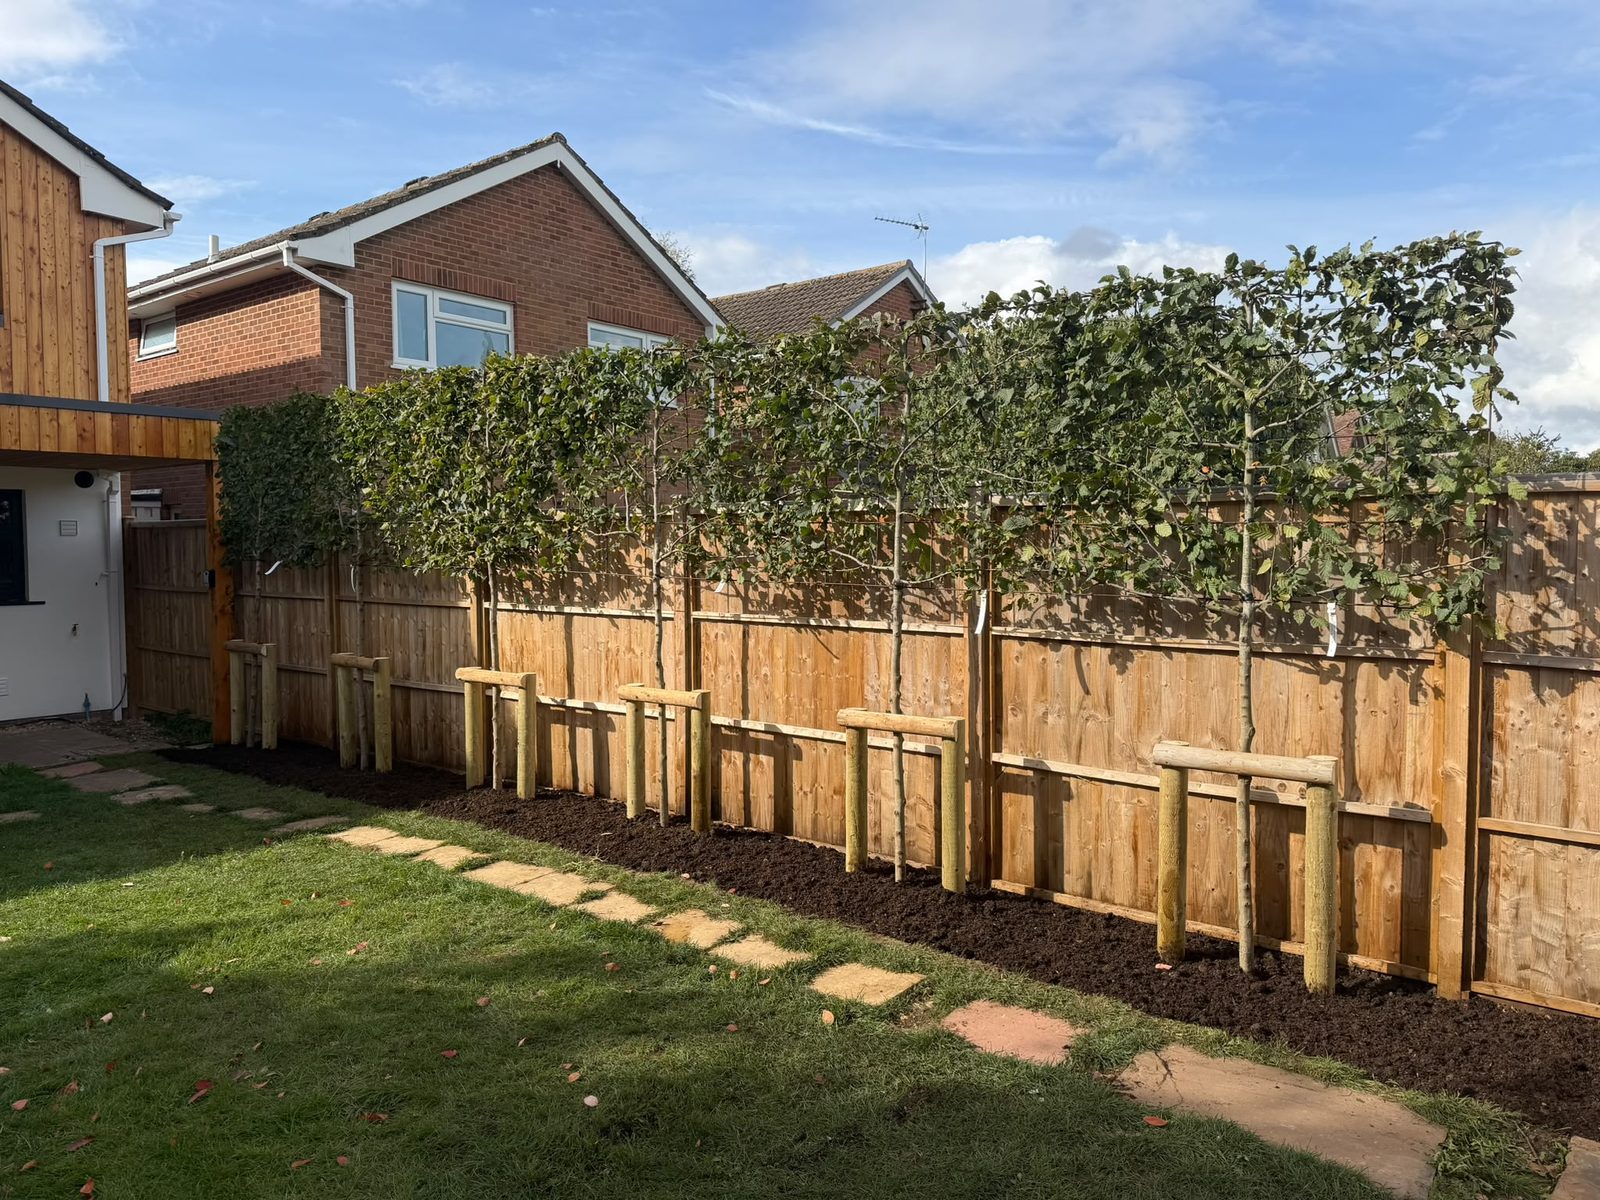
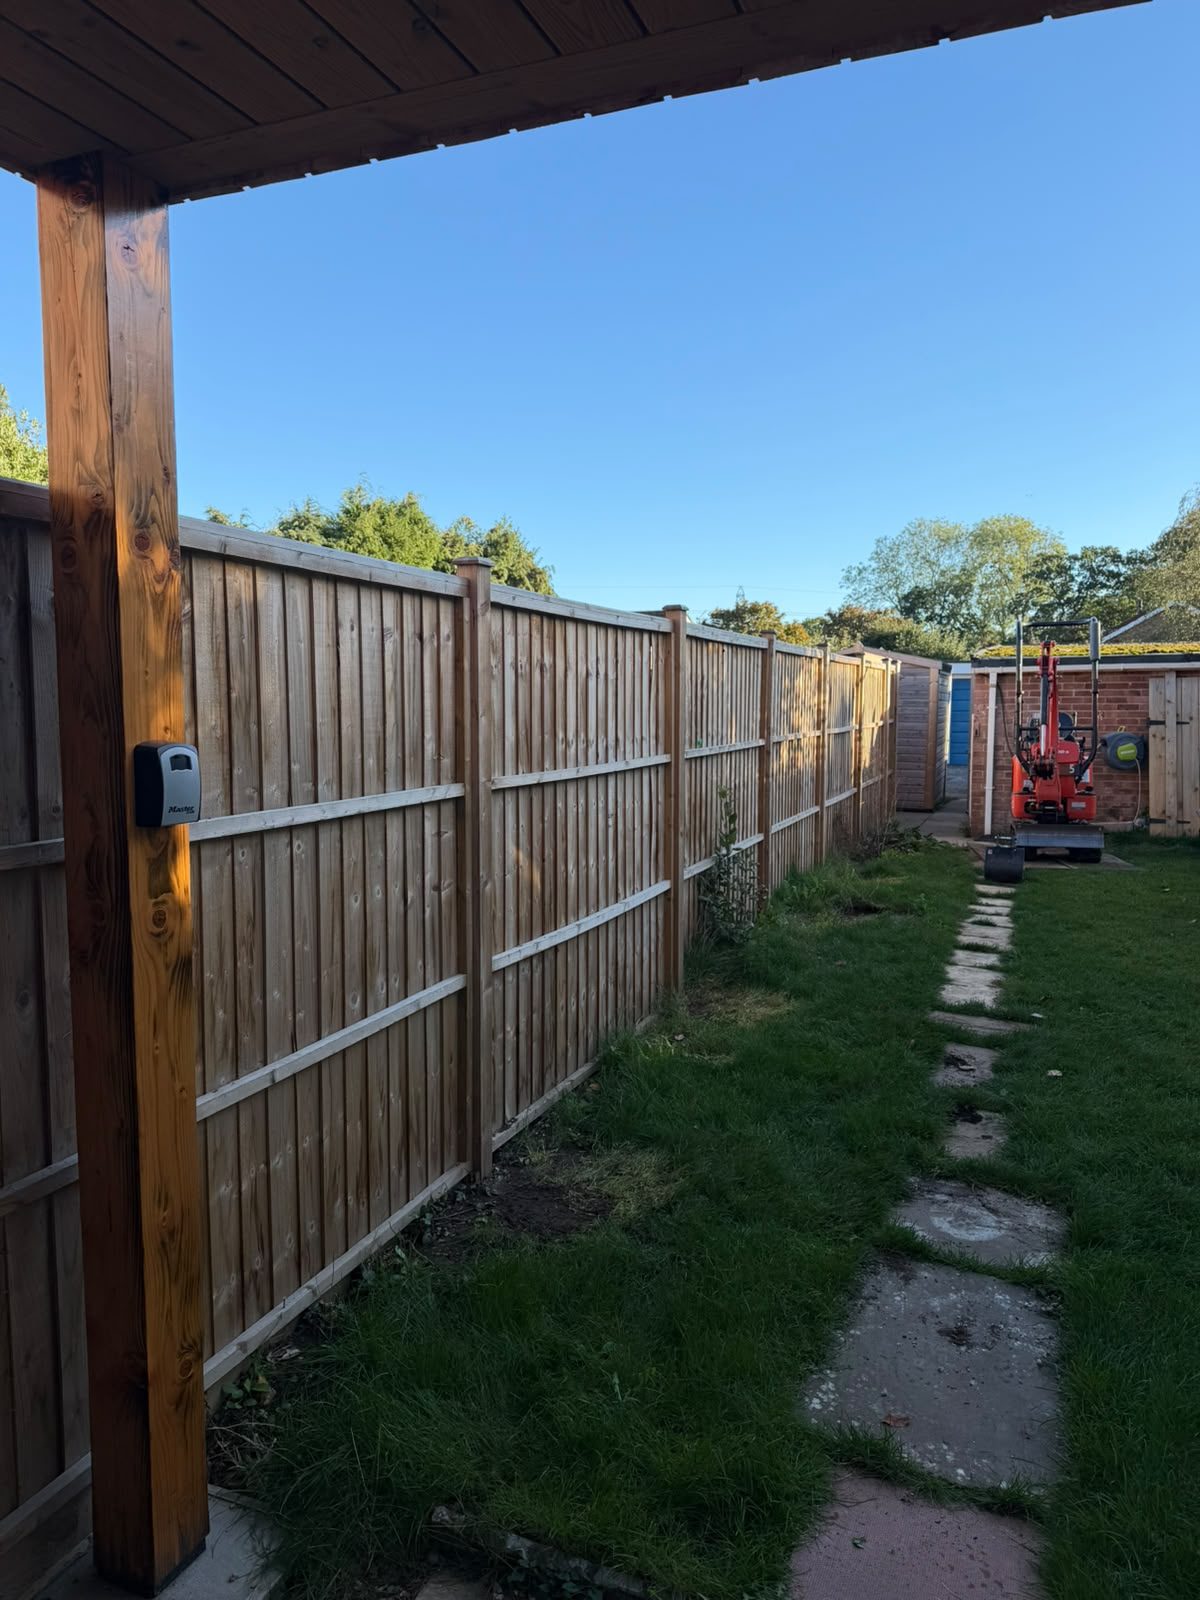
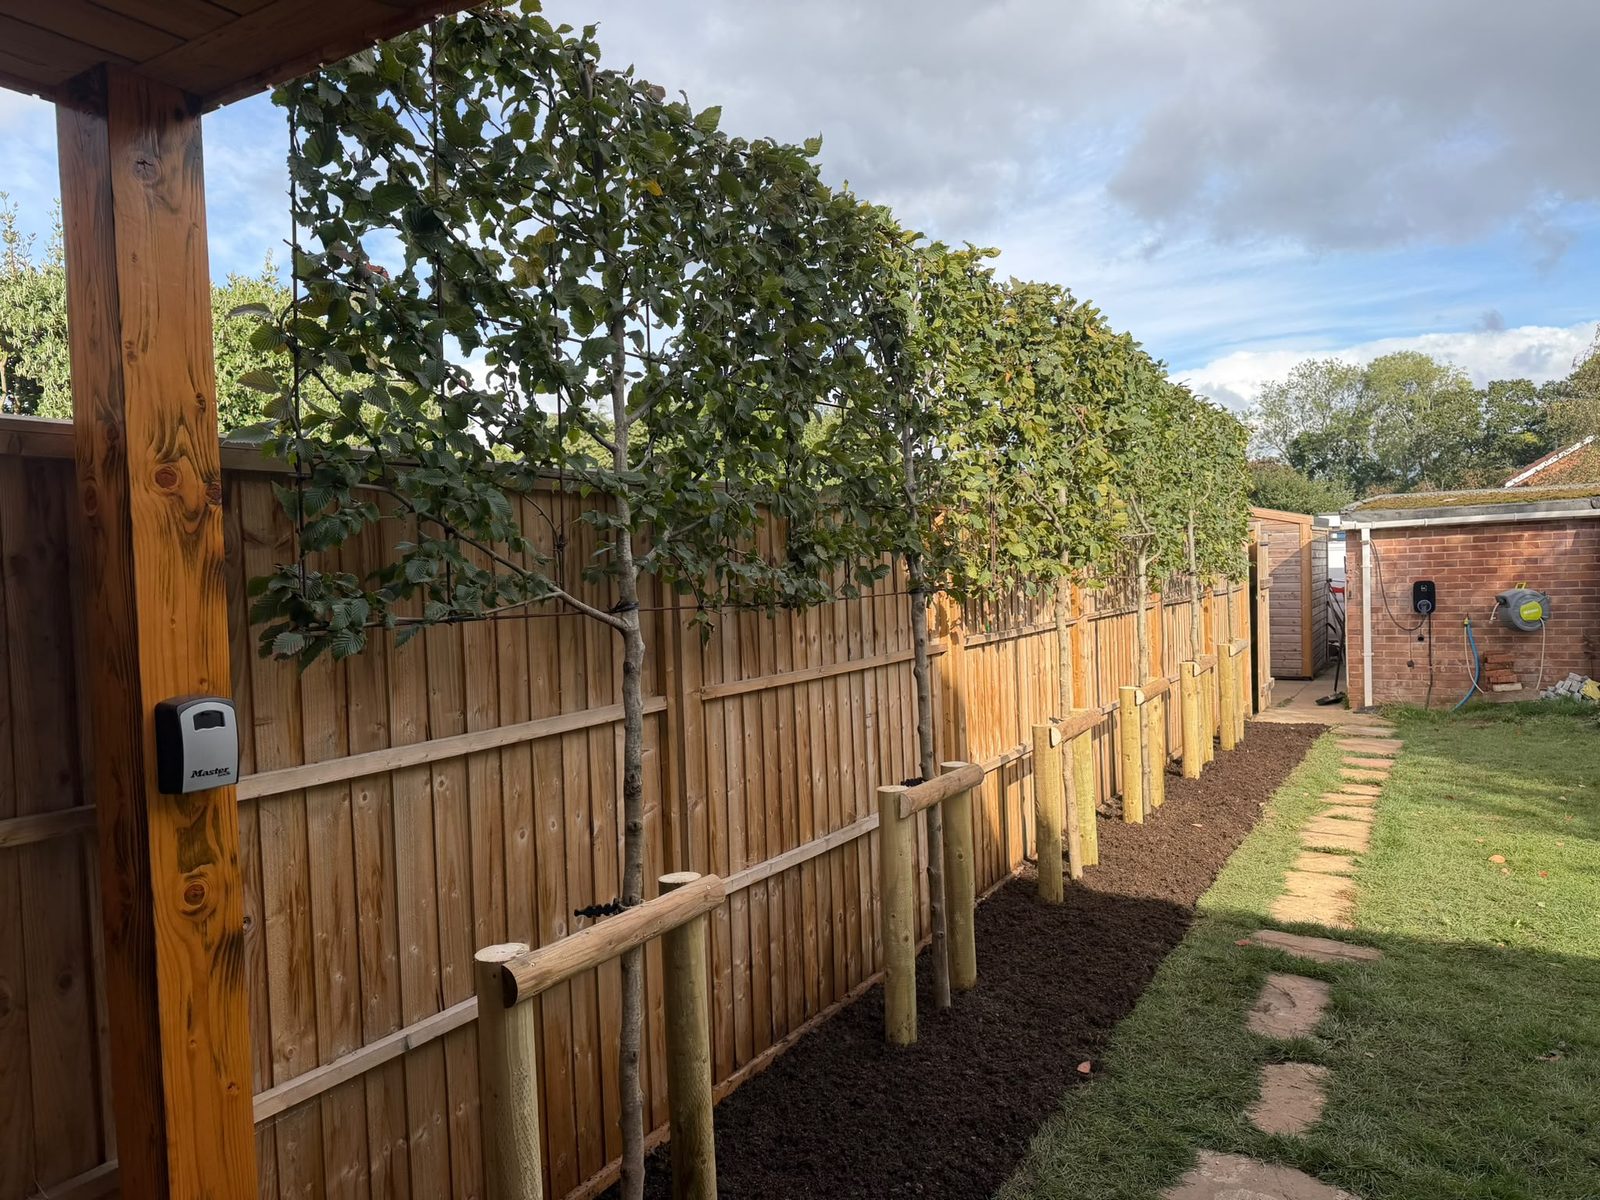
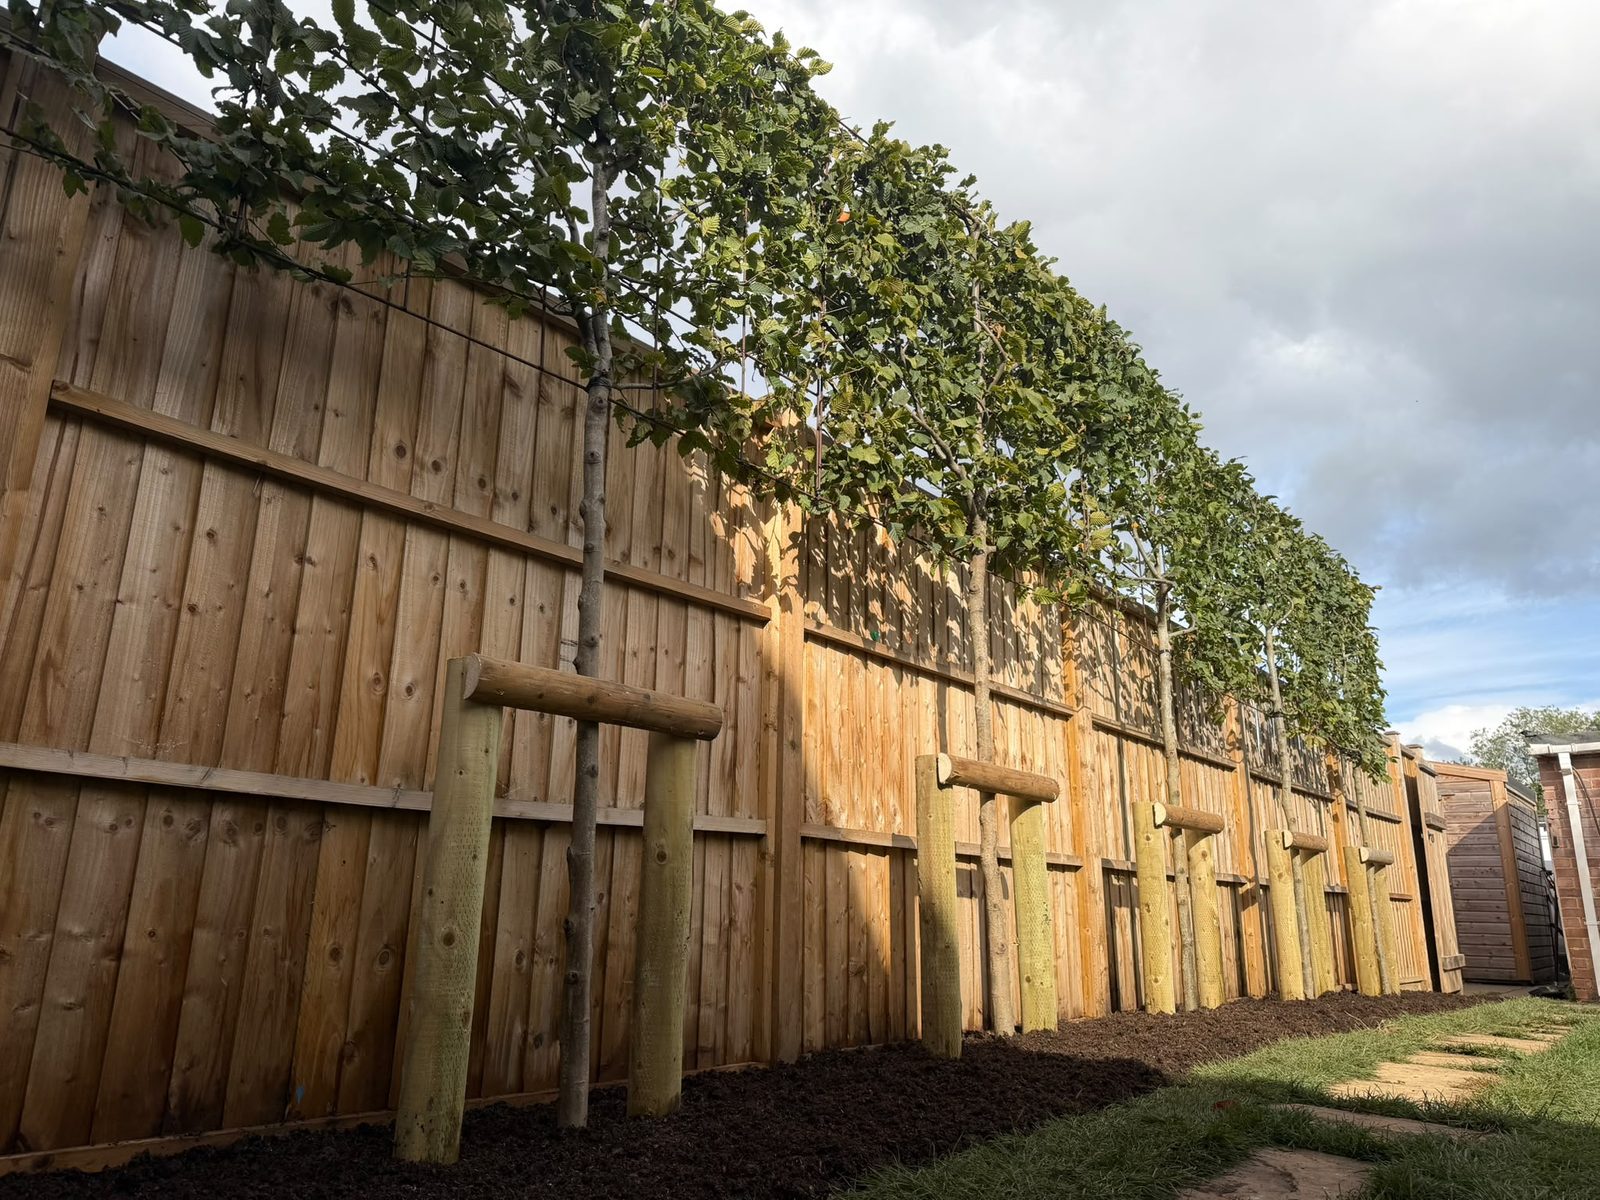
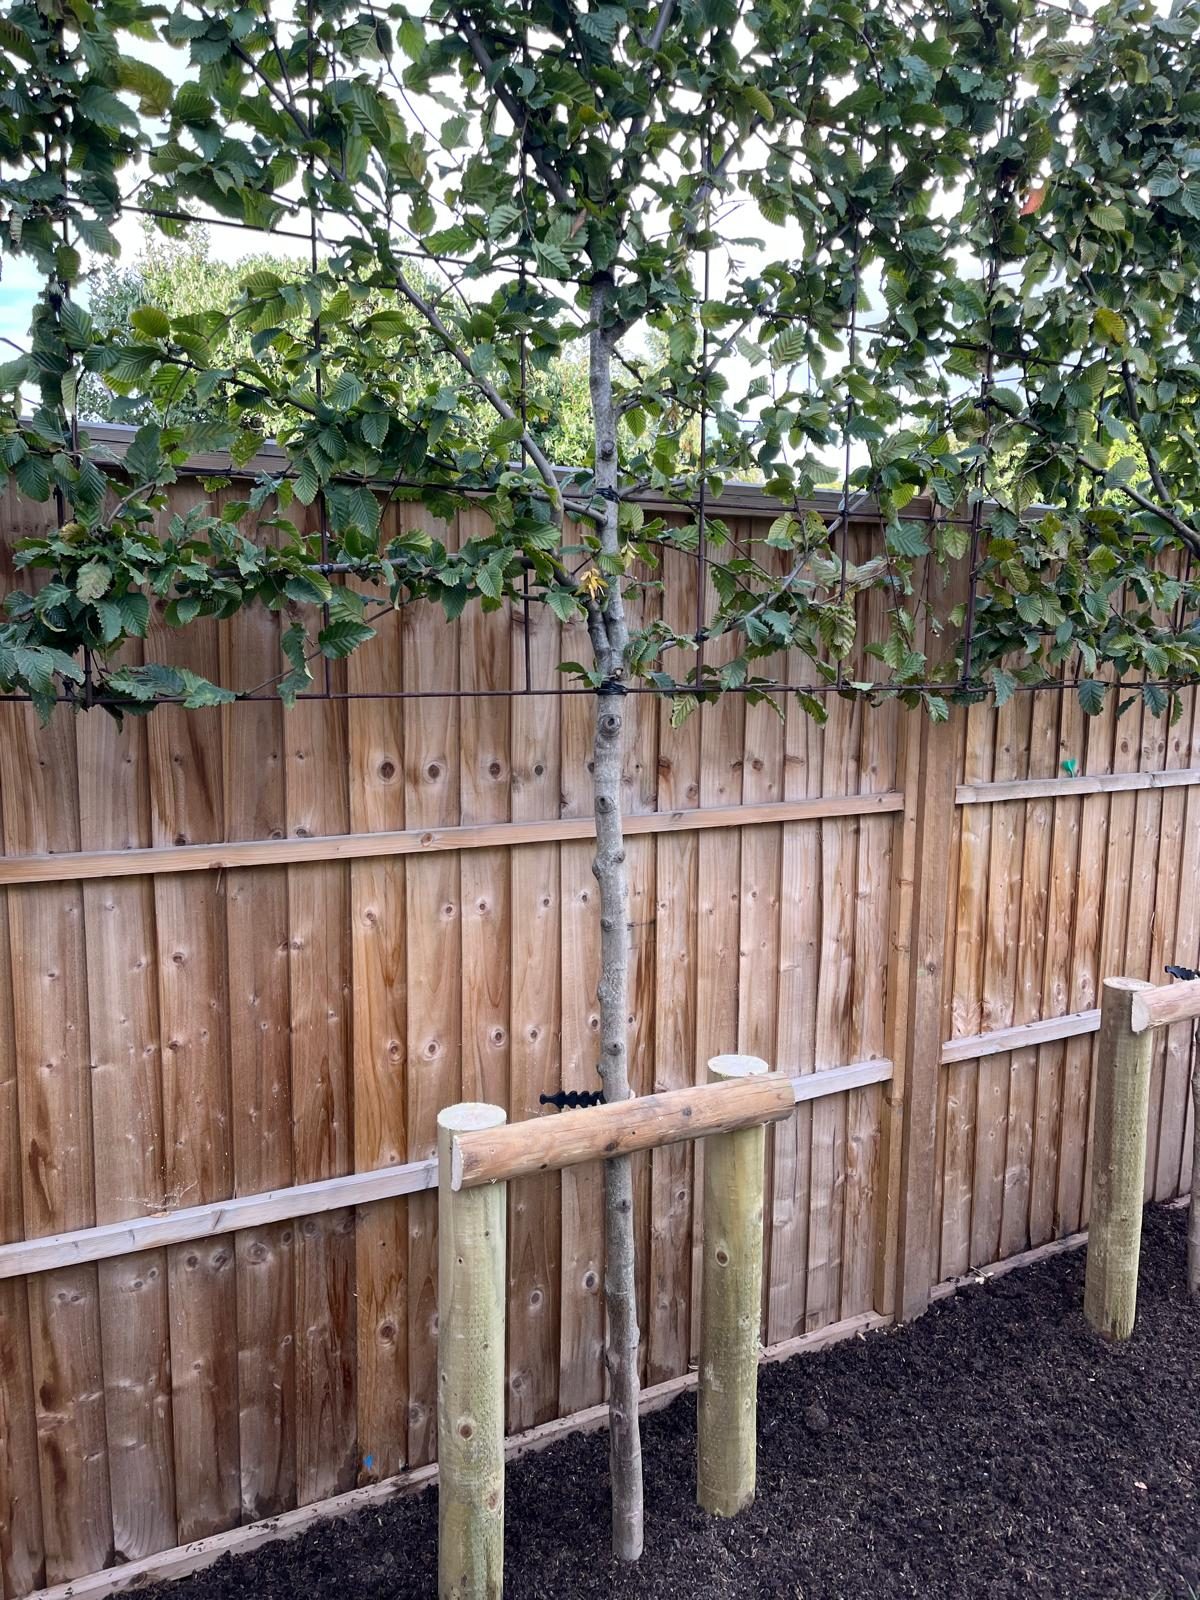
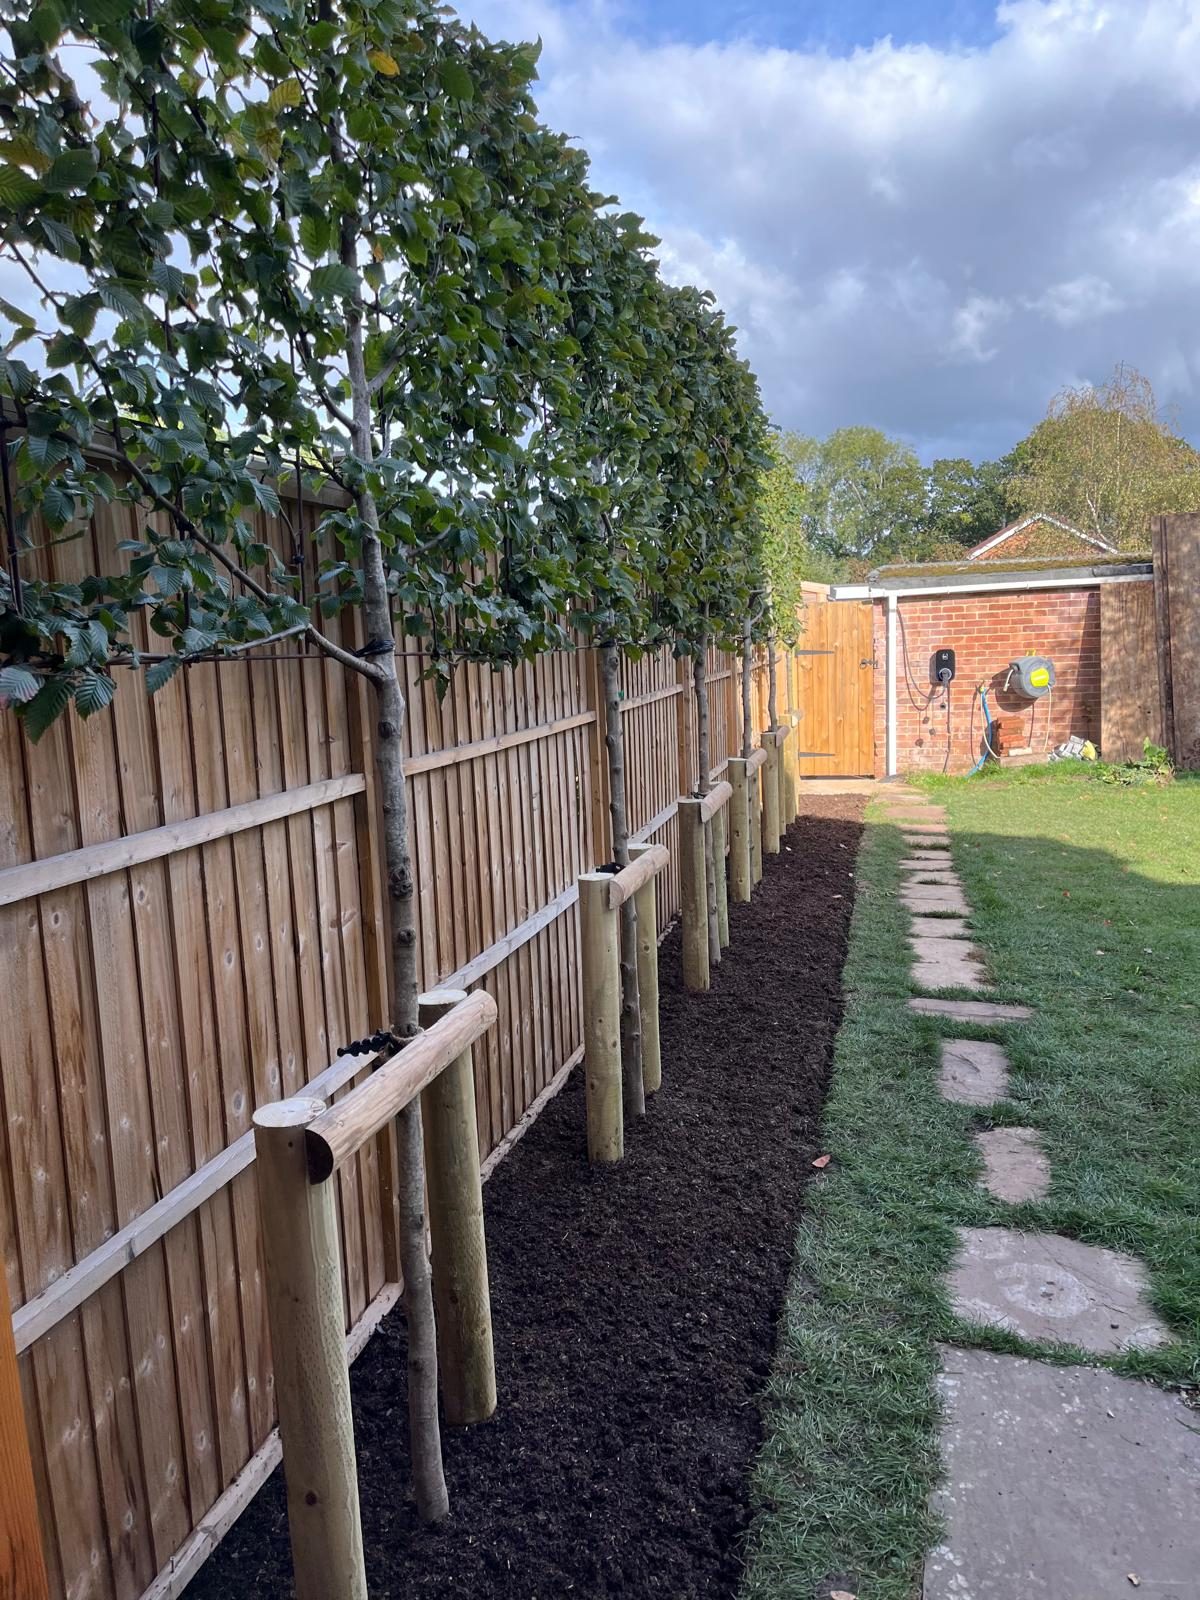
A long, narrow back garden near Romsey, overlooked by the houses behind. We planted a row of pleached hornbeam along the boundary fence: clear stems below, and a flat screen of leaves raised above the fence line, where the privacy is needed.
The variety is Carpinus betulus Rockhampton Red ('Lochglow'), chosen for its autumn colour, when the leaves turn a deep, fiery red, burgundy and purple. Hornbeam also holds on to its dead leaves through winter, a habit called marcescence, so the screen keeps working once the colour has gone. It only happens on young growth, which is why late-summer pruning matters: mature trees let their leaves go, while a pleached screen cut at the right time keeps its cover until spring.
A narrow way in
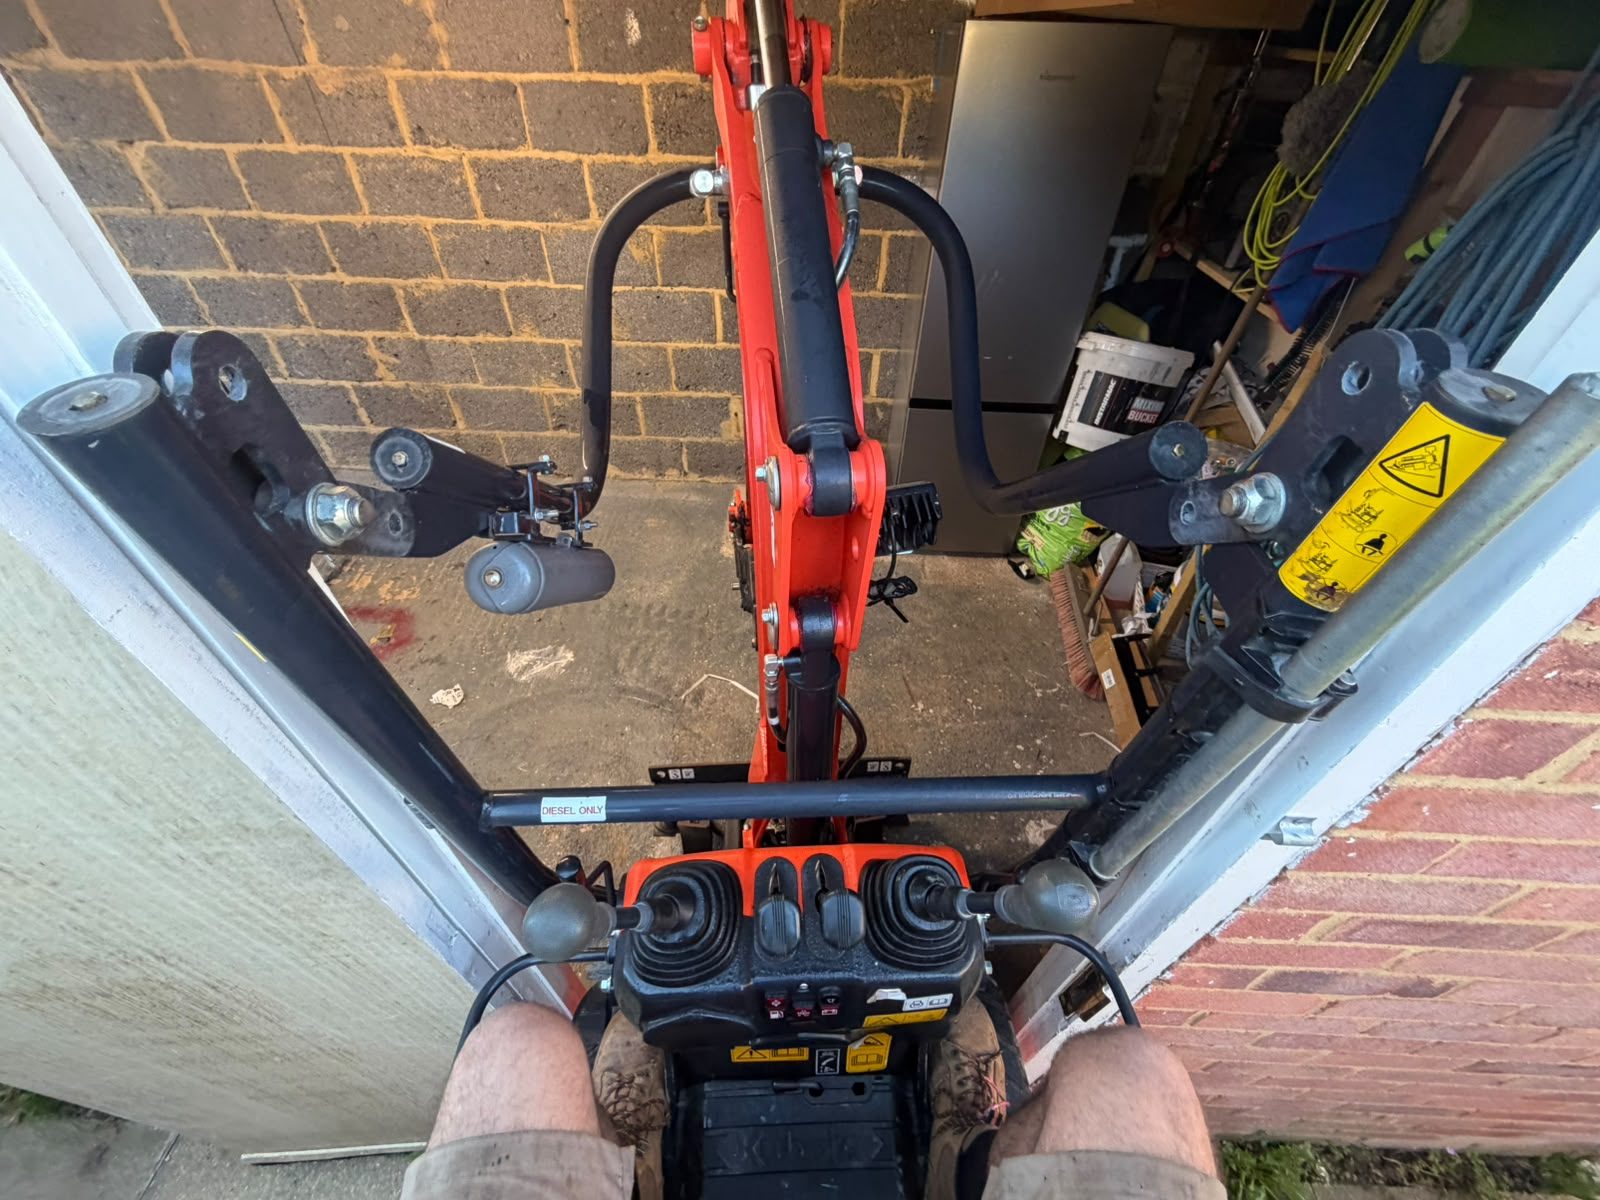
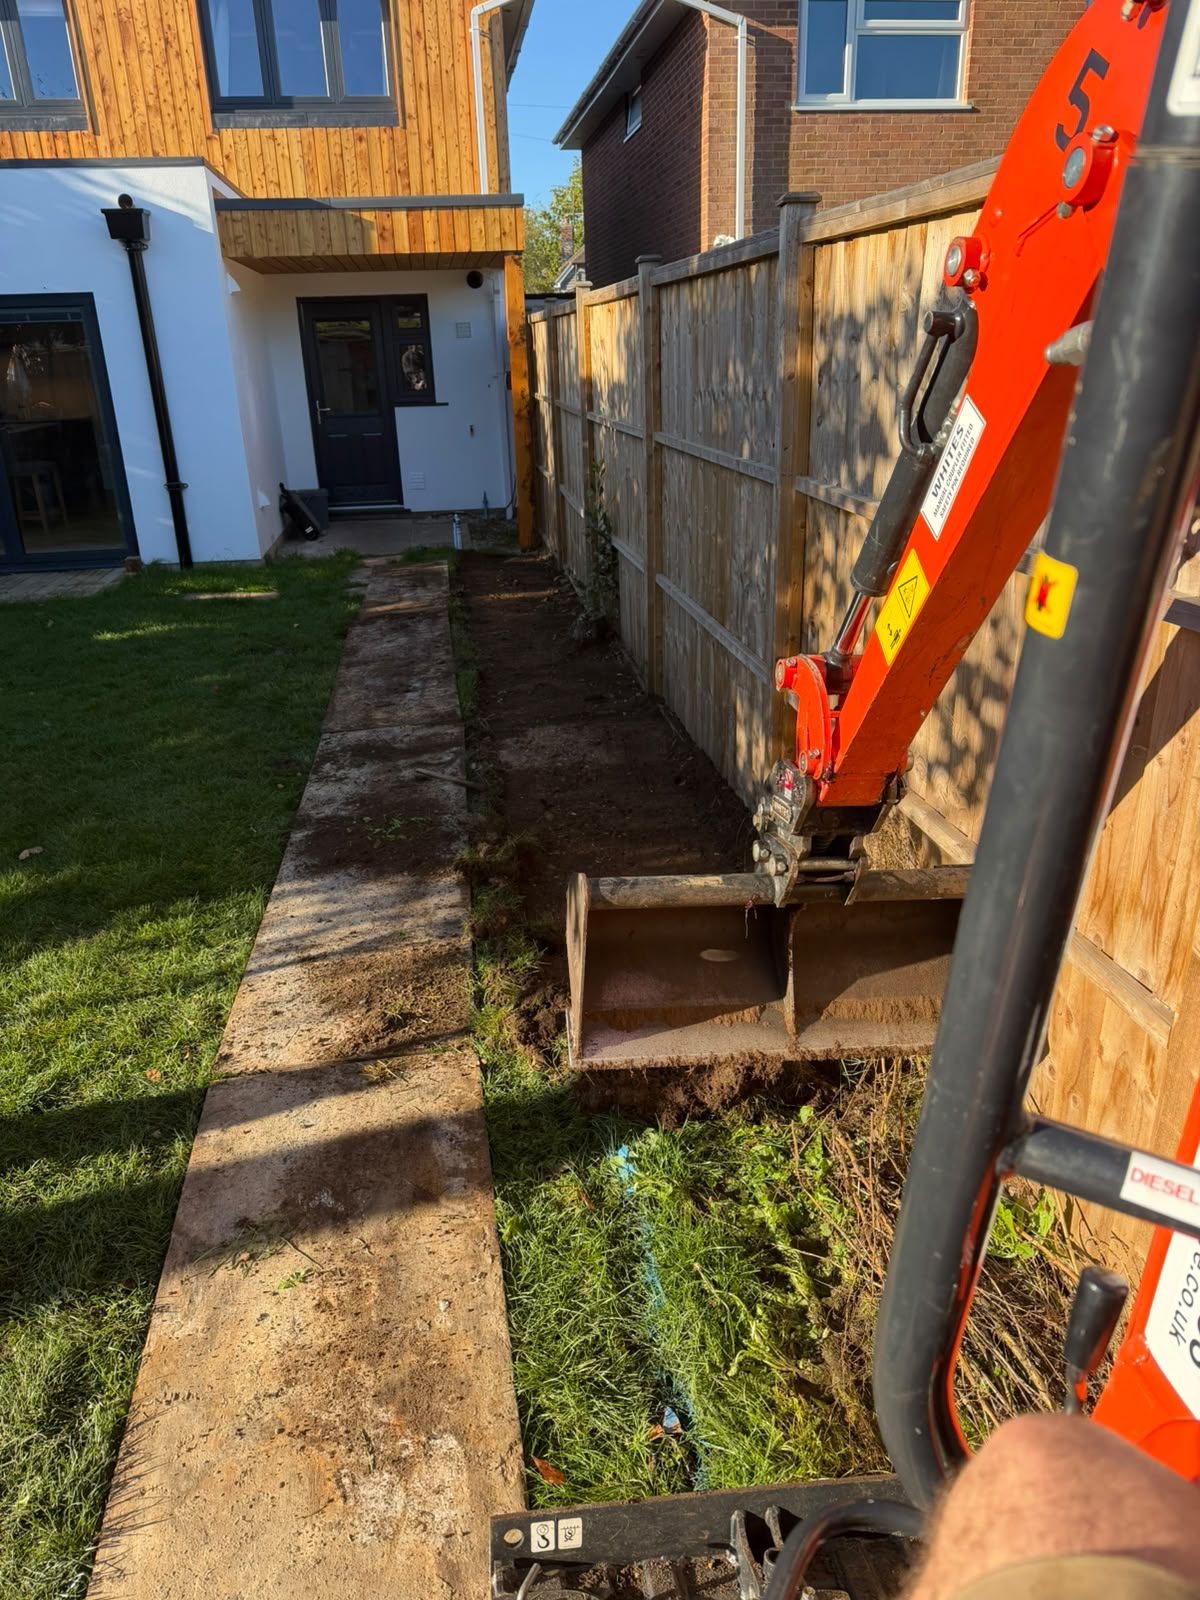
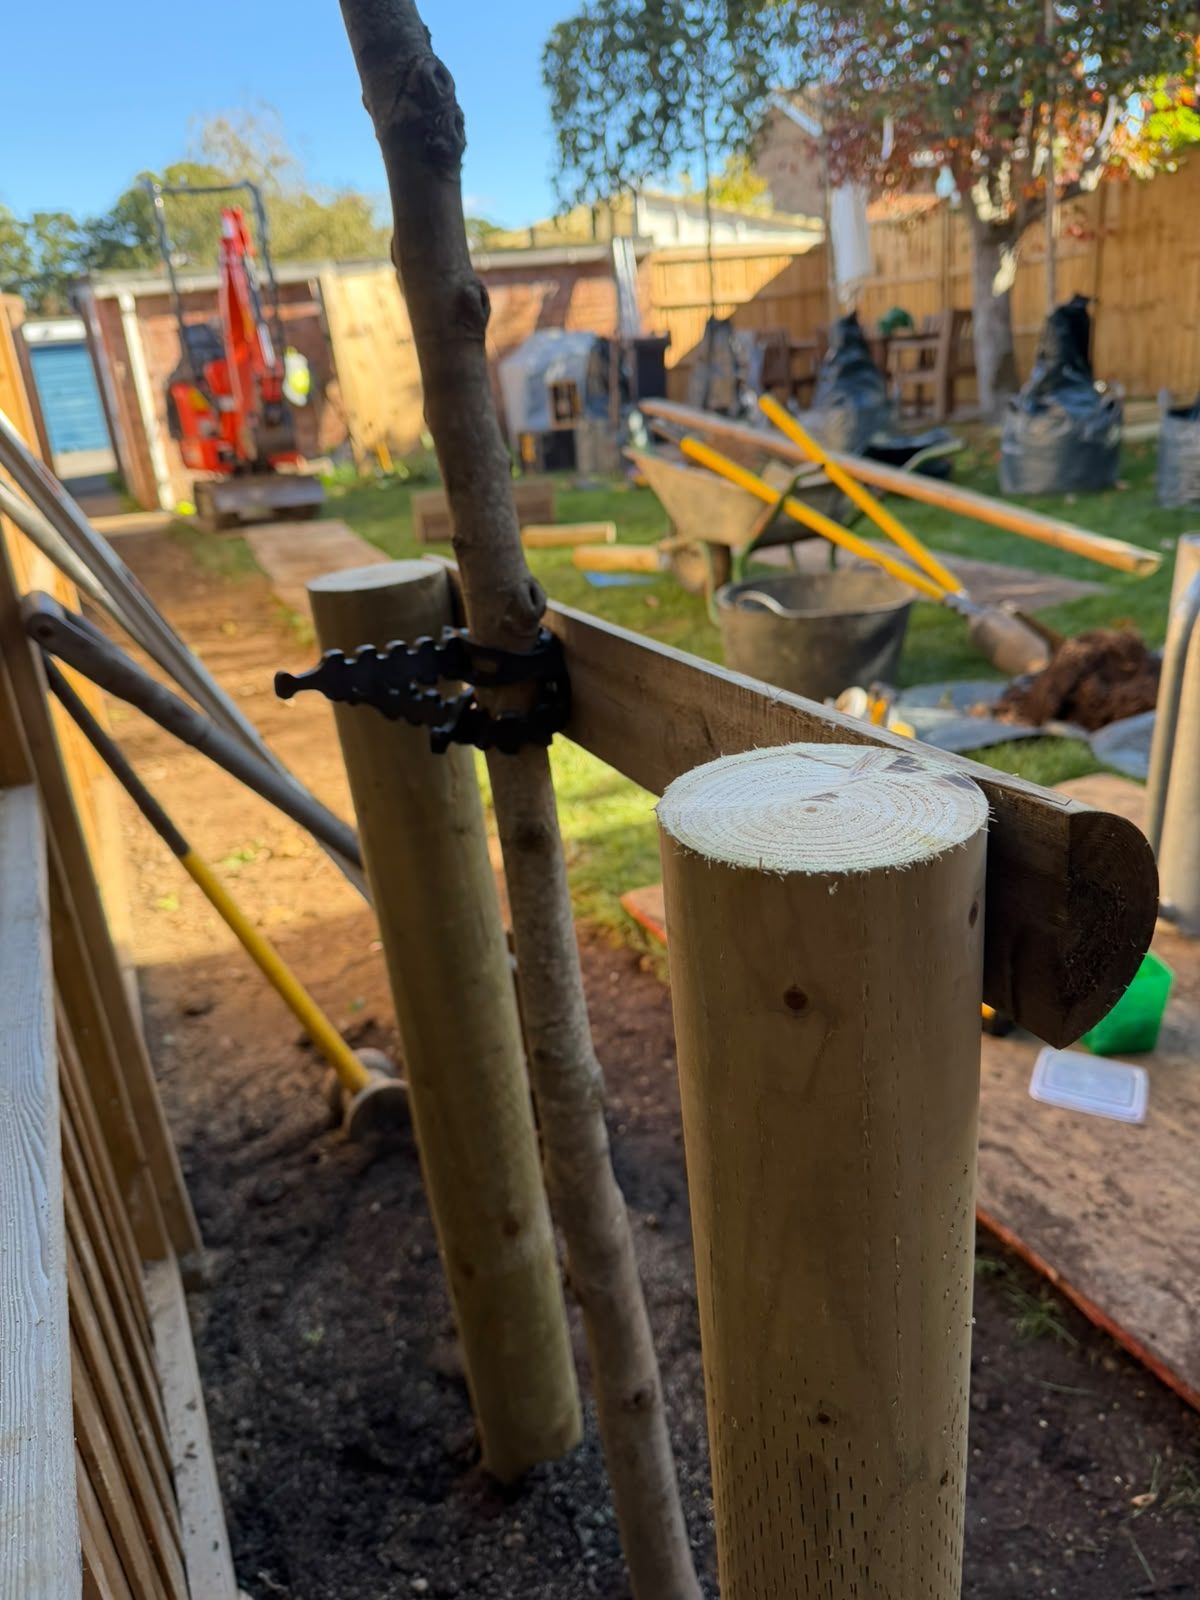
Access was very tight, so we worked with a 0.8 tonne micro digger, narrow enough to fit through the front door of a house. Here it came in through the garage and dug the planting trench along the full length of the fence.
Planted and woven by hand
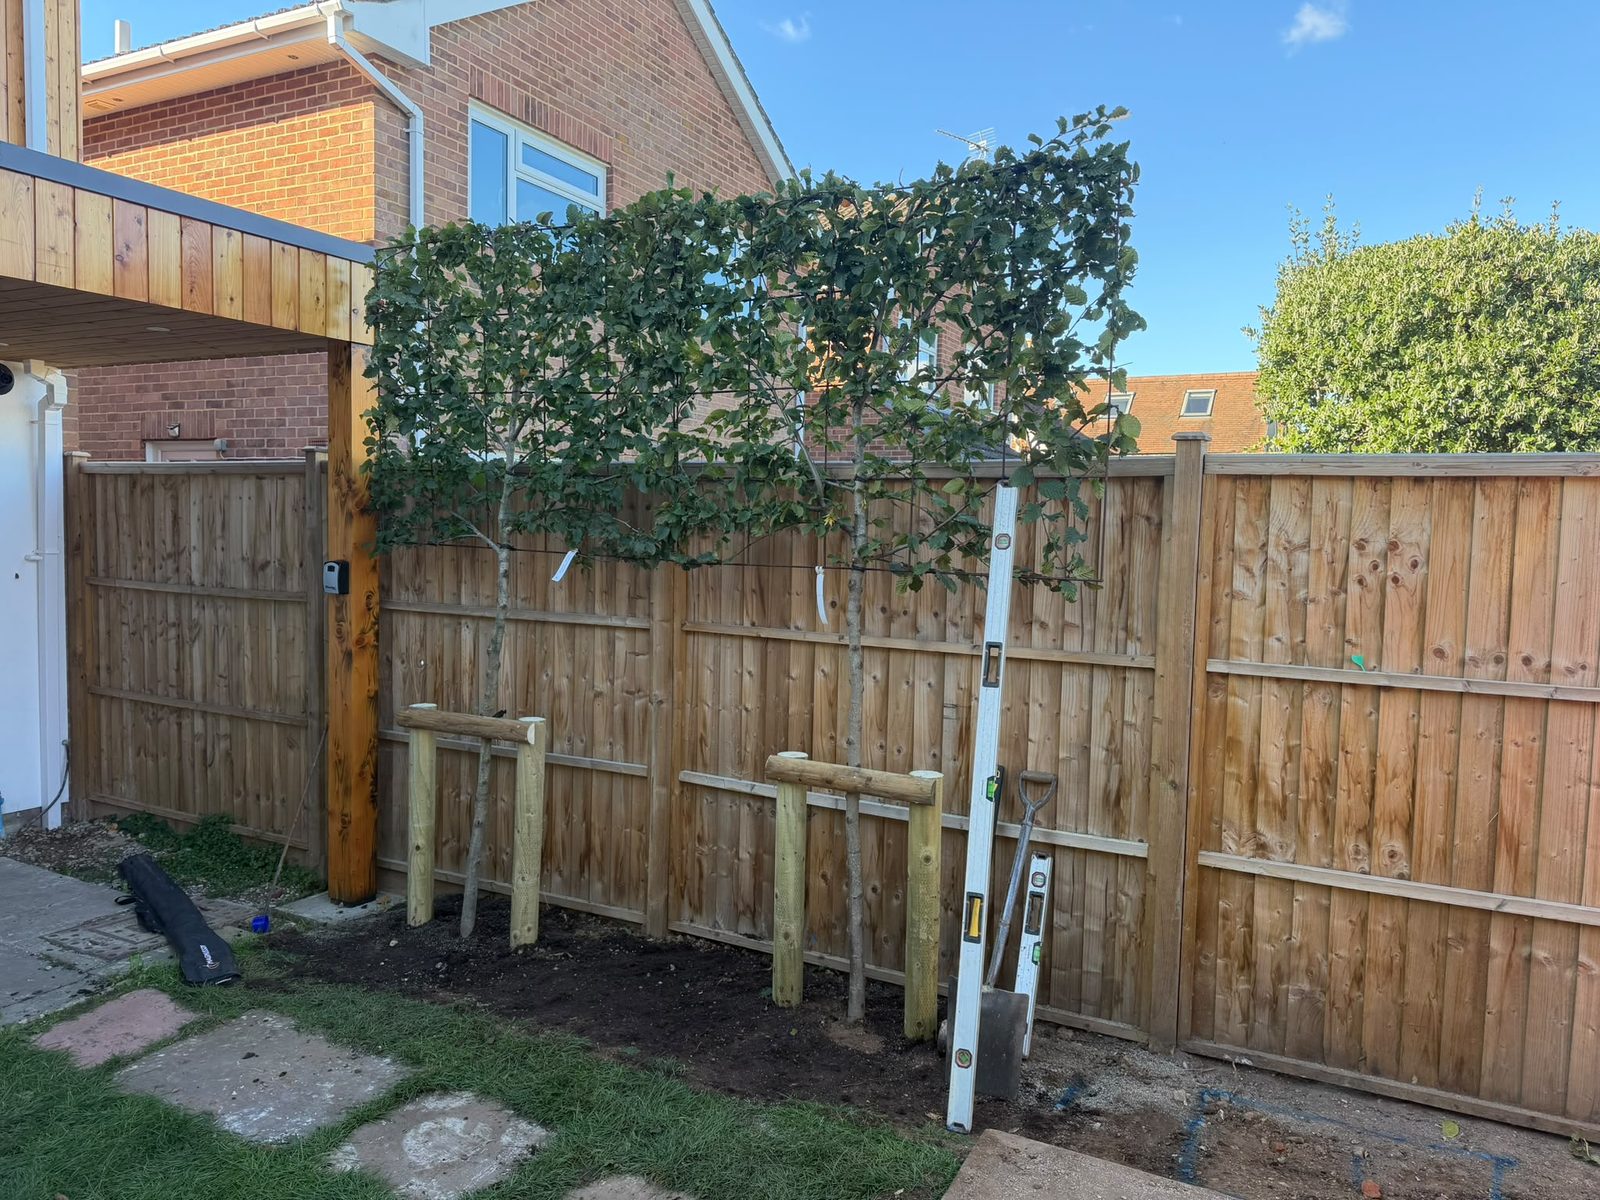
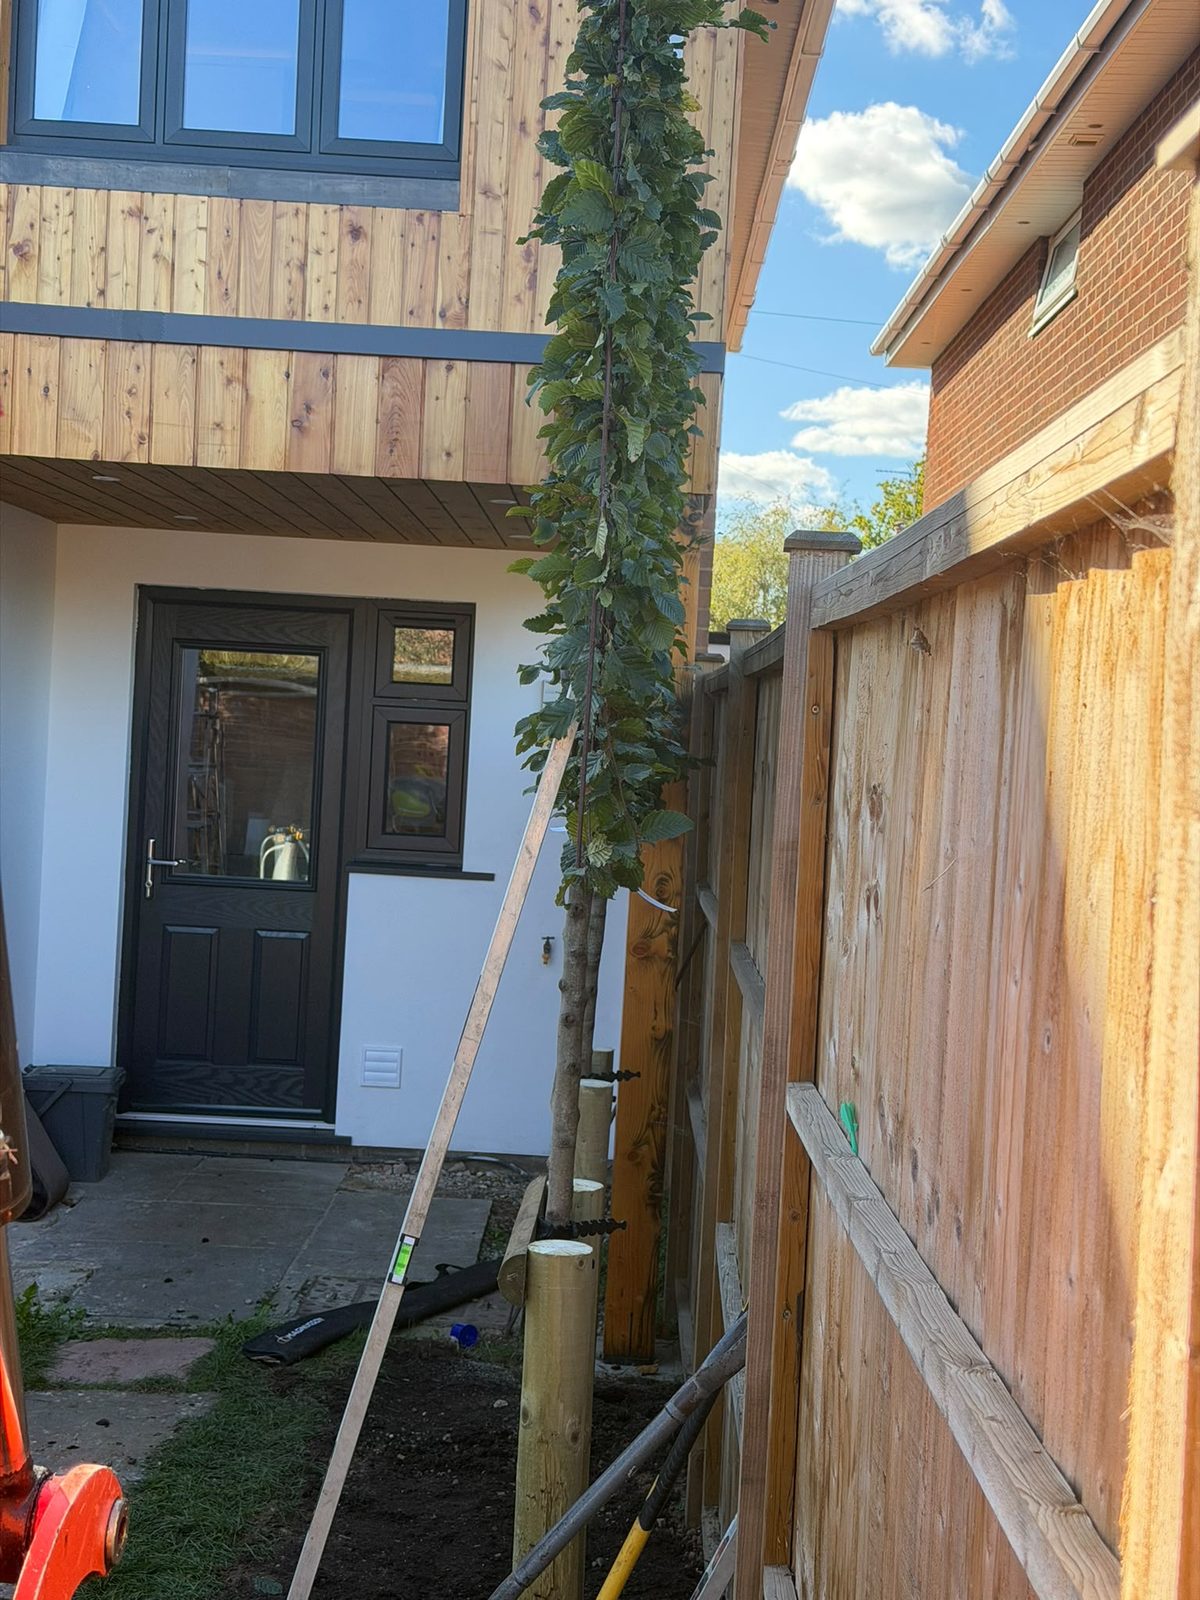
The trees were locally sourced. Each one went in on a pair of stakes with a timber crossbar, checked for level along the whole run, and Louie wove the branches by hand onto metal frames made by our sister company, Agrumi Topiary Art.
Planting | A cottage garden
We laid this brick path and planted the borders on either side of it, then kept an eye on the garden in the seasons since. Cottage planting like this wants room to spread, and it has: the perennials and self-seeders have grown into one another until the path feels part of the borders instead of a line through them. The photographs show the same borders at different ages. After the first couple of seasons it asked very little of us. Mostly it just wanted time.


Planting | Country borders
Deep mixed borders wrapped around a brick country house: irises, roses, foxgloves and box, planted for structure in winter and colour from spring through autumn. Photographed in early summer, once the borders had established.


Grounds | Around the estate
Details from grounds we build and keep: brickwork, gates, orchard and espaliered fruit, in high summer.


Thinking about your own garden?
Every one of these started with a walk around the site.